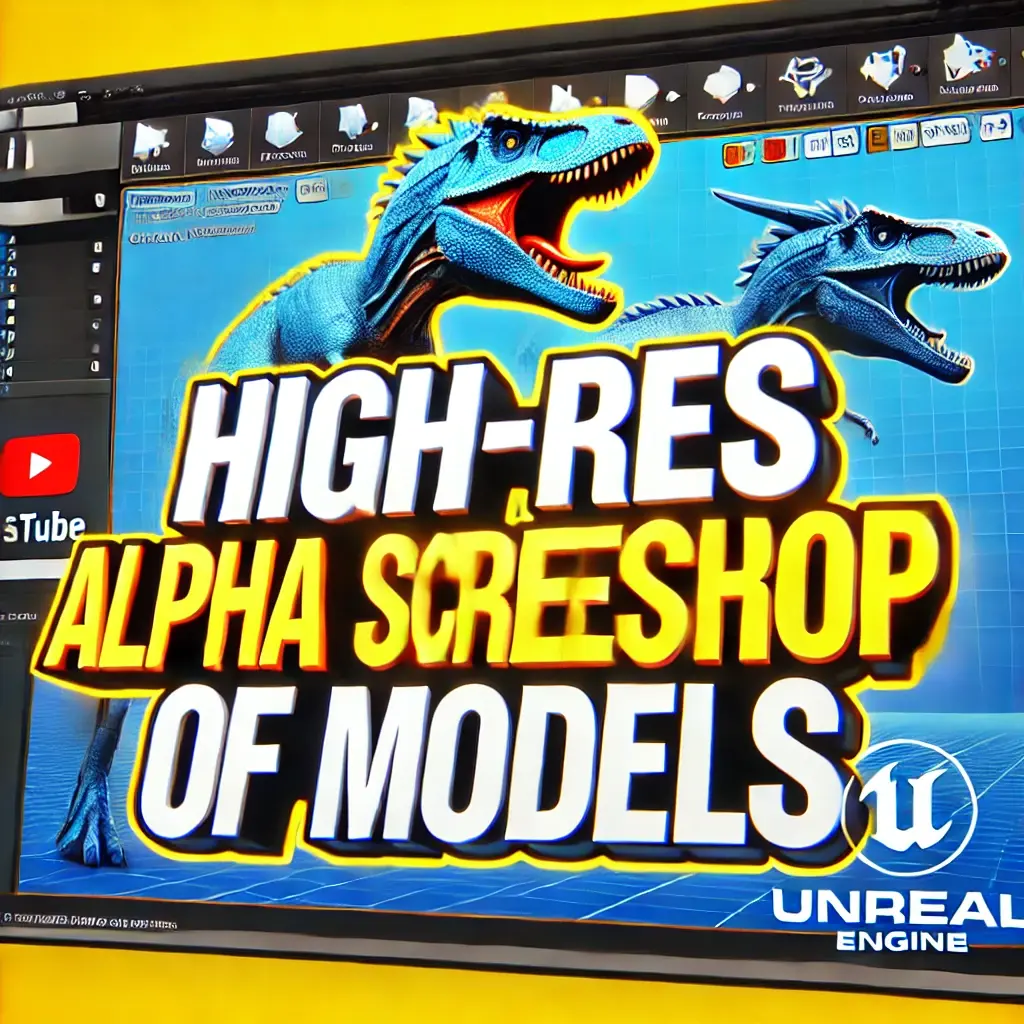
How to Capture High-Resolution Unreal Engine Screenshots of Your Models

How to Capture High-Resolution Alpha Screenshots of Your Models
Creating high-quality assets is essential for any game developer or 3D artist, especially when showcasing models for UI design, and promotional materials. If you’ve ever struggled to capture a clean, high-resolution image of a model without background clutter, this guide is for you. In this blog post, we’ll explore how to take high-res alpha screenshots of your models using Unreal Engine. Follow along to learn the entire process step-by-step.
Why High-Res Screenshots Matter
High-resolution images allow you to highlight the intricate details of your 3D models. When paired with a transparent background, these screenshots can be directly used in applications such as:
UI design for games or apps
Marketing and promotional materials
With the right tools and techniques, you can create professional-quality assets quickly and efficiently.
Step 1: Open Your Model in Unreal Engine
Begin by opening the model you wish to capture in Unreal Engine. It could be a skeletal mesh or static mesh asset. For this tutorial, let’s use a dinosaur model as an example.
Step 2: Access Preview Scene Settings
Navigate to Window > Preview Scene Settings from the top menu.
If the settings window doesn’t appear, ensure it is enabled from the Unreal Engine menu.
This panel lets you control the visual environment of your model’s preview.
Step 3: Adjust the Environment Settings
In the Preview Scene Settings:
Turn off the Show Environment to remove the background.
Turn off the Show Floor to eliminate the ground plane.
This isolates your model against a solid background color, giving you a clean slate to work with.
Step 4: Customize the Background Color
Choose a background color that’s easy to remove during post-editing:
Gray or white backgrounds work best to avoid unwanted color artifacts.
Avoid flashy or black, as they can interfere with lighting of the model.
Step 5: Frame Your Model
Position your model within the viewport to achieve your desired composition. The framing of this window will define the final screenshot layout.
Step 6: Capture the Screenshot
Press F9 on your keyboard to take a screenshot. Unreal Engine will save the image to its designated screenshots folder. You now have a high-resolution image of your model.
Step 7: Remove the Background
To achieve a transparent PNG:
Open a browser and search for a background removal tool. We recommend tools like remove.bg or Canva’s background remover.
Upload your screenshot to the tool. The background will be automatically removed.
If needed, manually erase any leftover artifacts using the tool’s built-in editing options.
Download the final transparent image.
Final Thoughts
With your high-resolution, transparent screenshot in hand, you can now seamlessly integrate your model into your project. Whether you’re designing game UI elements or creating marketing assets, this method ensures clean and professional results.
If you found this guide helpful, check out our YouTube tutorial for a video walkthrough of these steps. Don’t forget to like, comment, and subscribe for more game development tips and tutorials!
UNOFFICIAL DOCUMENTATION
Tags
ocean interaction, unofficial documentation, unreal engine, c++, high-resolution screenshots, alpha screenshots, Unreal Engine, 3D model presentation, UI design assets, promotional materials, transparent background, game development assets, 3D model showcase, game marketing, marketing assets, promotional 3D models, static mesh, skeletal mesh, model rendering, clean screenshots, high-quality assets, 3D art, asset creation guide, game UI design, marketing tools for games, asset capture techniques, game development tips, asset creation tutorial, Unreal Engine tutorial, model rendering tips, game promotional content.


