


Unreal Engine – CorePlus – Assets – Music – Background – Pack 01

Unreal Engine – CorePlus – Assets – Visual Effects – FX – Fireworks
Unreal Engine > CorePlus > Assets > Sound Effects > UI > CorePlus
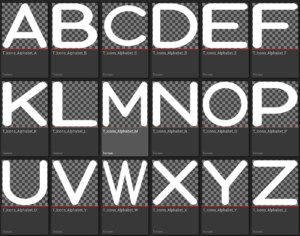
Unreal Engine > CorePlus > Assets > Textures > Icons > Alphabet

Unreal Engine – CorePlus – Modules – Highlighter
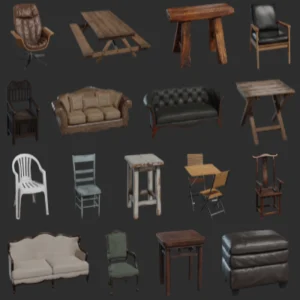
Unreal Engine – Assets – PolyHaven – Furniture > Seating